
Proposed Technical Inspections for Motorcycles Over 50 cc
Jens Gieseke, the European Parliament rapporteur, has put forward a draft report advocating for mandatory Periodical Tec...
Keeping your motorcycle's brake calipers clean is essential for effective braking and overall safety. In this guide, we will take you through the steps to clean brake calipers properly, ensuring your bike performs at its best. Learn about tools, techniques, and maintenance tips for lasting performance.
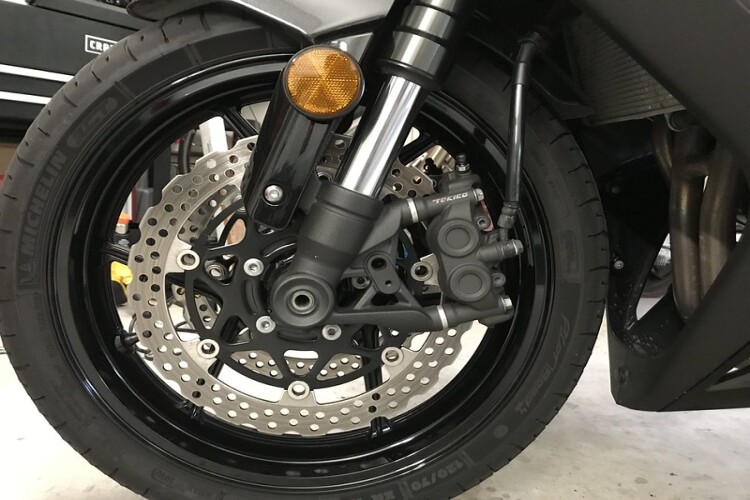
Brake calipers play a crucial role in the braking system of your motorcycle. They convert the hydraulic pressure from the brake lines into mechanical force, pressing the brake pads against the rotor to slow down the bike. Over time, brake dust, dirt, and grime can accumulate, affecting their performance and potentially leading to costly repairs.
Regular cleaning of your brake calipers not only enhances their functionality but also ensures your safety while riding. Dirty calipers can cause uneven brake wear, reduced responsiveness, and even corrosion. By maintaining clean calipers, you enhance the longevity of your braking system and improve your overall riding experience.
In this guide, we'll outline a step-by-step process to clean your motorcycle brake calipers, discuss the necessary tools, and provide tips on how to maintain them effectively.
Before you start cleaning your brake calipers, gather the necessary tools for the job to ensure a smooth cleaning process. Here’s a handy list:
These tools will help you effectively remove dirt and grime without damaging the crucial components of your braking system. Ensure you wear safety gear to protect yourself from brake cleaner and debris.
The brake cleaner spray is specifically designed to break down brake dust and grime, making it the most critical tool in this process. A soft brush will help reach into tight spaces without scratching the surfaces, and clean rags will be valuable for wiping down and drying afterwards.
Now that you have your tools ready, it's time to dive into the step-by-step cleaning process for your motorcycle brake calipers. Follow these simple steps for an effective clean:
Step 1: Prepare Your Motorcycle
Begin by safely lifting your motorcycle using a bike stand or paddock stand. This will allow you to access the brake calipers easily. Make sure you secure the motorcycle properly to prevent any accidents.
Step 2: Remove the Caliper
Using your socket wrench set, remove the caliper bolts carefully. Once removed, gently slide the caliper off the rotor. It’s essential to handle the caliper with care to avoid damaging the brake line. Make sure to have a container ready to catch any brake fluid that may leak out.
Step 3: Clean the Caliper
Now it's time to use the brake cleaner. Spray the cleaner liberally on the caliper, focusing on the areas with heavy dirt buildup. Use a soft brush or toothbrush to scrub away the grime. Pay particular attention to the pistons and the mounting areas where dirt can accumulate.
Step 4: Any Hard-to-Reach Areas
For hard-to-reach areas, you may use a pipe cleaner or an old toothbrush to dislodge debris. Be gentle, as excessive force can damage mechanical parts. Wipe down the calipers with a clean rag to remove any remaining cleaner and dirt. Ensure it's thoroughly dry before reinstallation.
Once you’ve cleaned the brake calipers and everything is dry, it’s time to reinstall them. This part is crucial for your safety while riding.
Step 1: Reattach the Calipers
Align the caliper with the rotor correctly and slide it back into place. Reattach the caliper bolts and tighten them securely according to the manufacturer's specifications. Using a torque wrench is recommended to ensure the correct tightness.
Step 2: Check Brake Pads
Before lowering your bike, take a moment to inspect the brake pads. Ensure they’re in good condition and free of grime. Install new pads if necessary. This is a great opportunity to replace them if they show significant wear.
Step 3: Test the Brakes
Finally, lower your motorcycle and pump the brake lever a few times to seat the caliper against the rotor properly. Take the bike for a short test ride, ensuring everything is functioning correctly and there are no issues with braking.
Keeping your brake calipers clean is just one aspect of maintaining your motorcycle. Incorporate these tips into your routine for optimal performance:
By following these maintenance tips, you’ll ensure that your brakes remain in top condition, helping you enjoy a safer ride.
In conclusion, cleaning your motorcycle brake calipers is an essential task that can greatly improve your bike's performance and your safety. With the right tools and a little patience, you can keep your braking system in peak condition, ready for any ride.
Browse bikes for sale or find local dealers to compare options.

Jens Gieseke, the European Parliament rapporteur, has put forward a draft report advocating for mandatory Periodical Tec...

As we embrace the new year, winter conditions across the UK pose unique challenges for motorcyclists. From snow and ice...

Motorcycling in a bustling city offers excitement but comes with significant risks. The dense traffic, unpredictable roa...

Are you eager to learn how to ride a motorcycle? This beginner's guide covers essential steps, from choosing the right b...
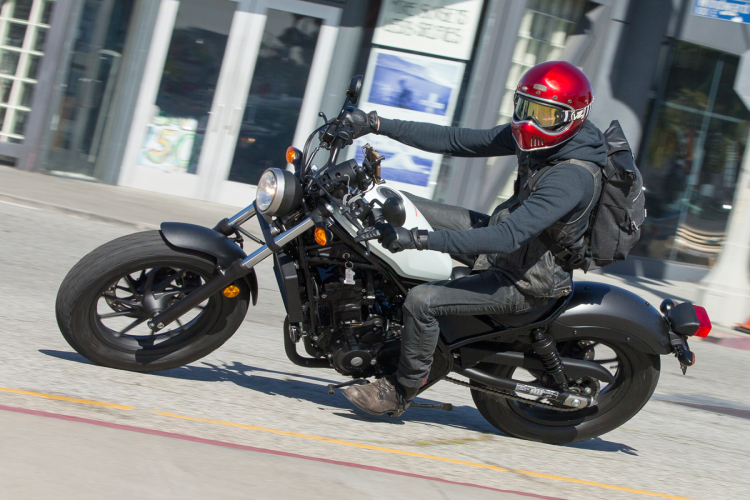
Finding the best beginner motorcycle can be a daunting task. This guide explores top models that combine ease of handlin...
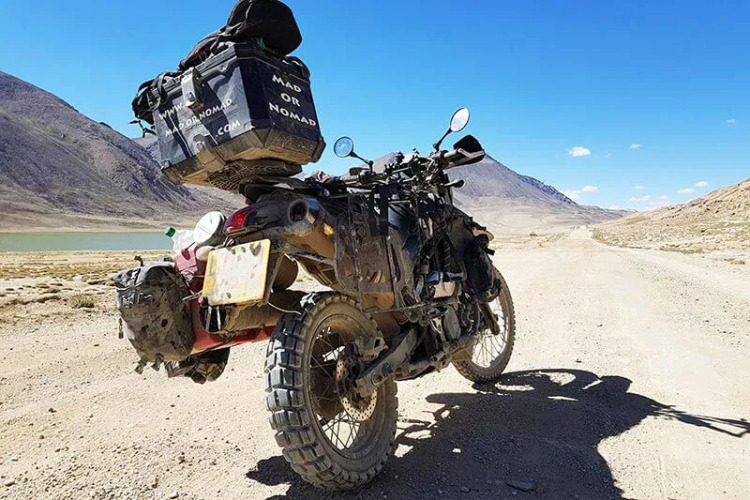
Packing for a motorcycle trip requires careful consideration to ensure maximum comfort and safety on the road. This guid...

Zero Motorcycles has announced a significant 89% increase in retail sales across North America for 2025, attributing this remarkable growth to its new...

Honda has officially unveiled a vibrant new livery for the 2026 WorldSBK season, showcasing their commitment to both performance and aesthetics. The n...

The Triumph Tiger Sport 800 is a formidable contender in the sports touring segment, crafted to challenge the Yamaha Tracer 9. With its robust perform...

The Ducati Multistrada V4 RS takes an already impressive all-rounder to new heights. With a potent 180 horsepower engine and advanced features, this p...

Discover the exhilarating performance of the 2025 Honda CB1000 Hornet, a sporty naked bike that blends the Fireblade's power with impressive value. Pr...
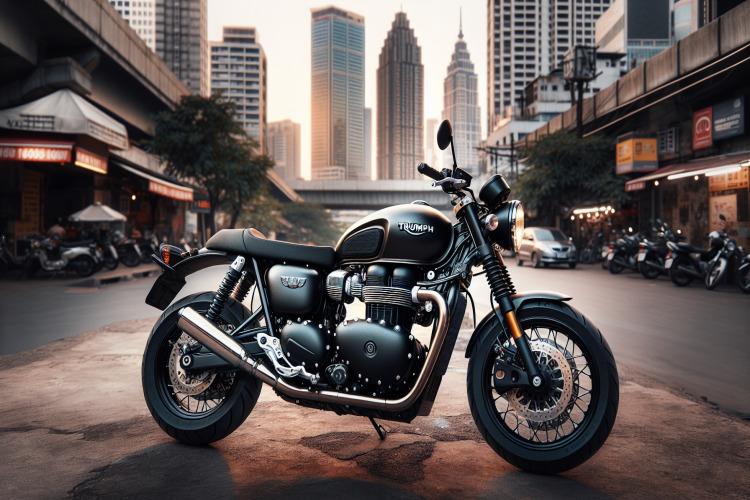
The Triumph Speed Twin 1200 (2025) combines classic aesthetics with modern performance. Enhanced with new technology, improved power, and the introduc...
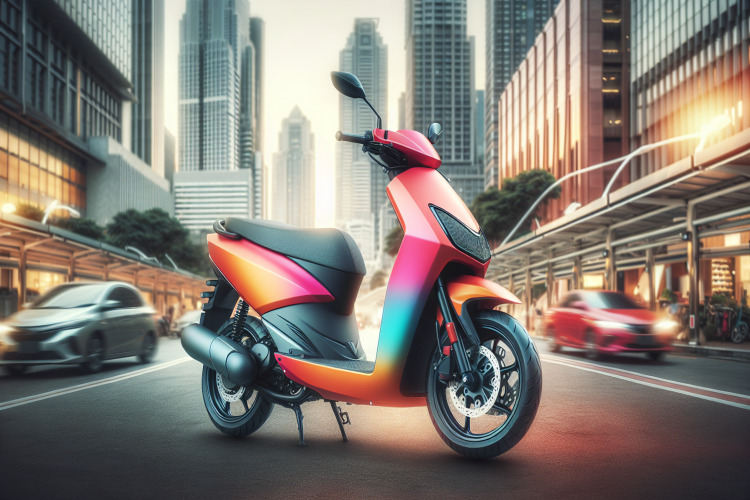
The 2025 Yamaha NMAX 125 has arrived, boasting an upgraded sporty design and enhanced features while remaining affordable. This popular scooter, which...

Looking to buy a second-hand motorcycle? This essential guide offers crucial tips to ensure you select the right bike for your needs. Discover how to...

The iconic Ducati Monster is set for a thrilling return in 2026, featuring the latest V2 engine, enhanced aesthetics, and cutting-edge technology. Thi...
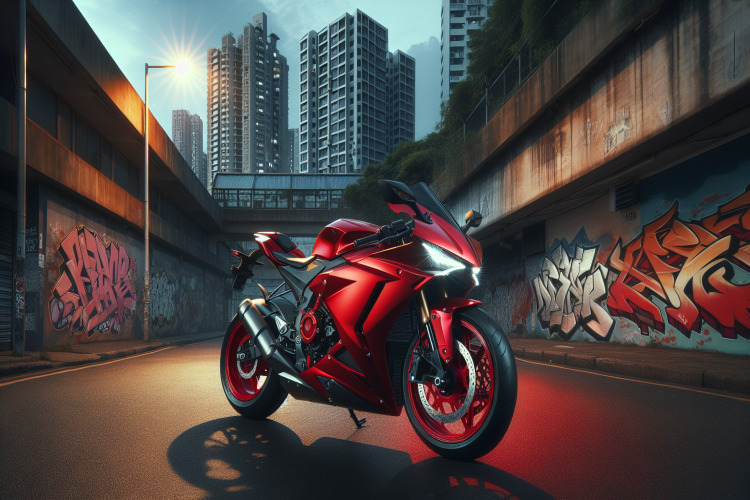
The updated 2026 Benelli BN 125 naked motorcycle has been unveiled, boasting four vibrant colour options and an affordable price tag of £2,599. This m...
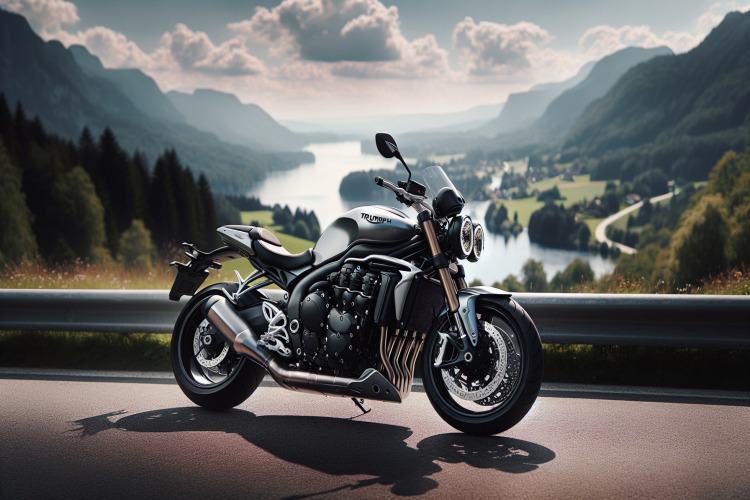
The Triumph Trident 800 elevates the roadster experience, combining a potent engine with user-friendly design. Perfect for both novices and experience...

Explore the QJMotor SVT 650, a remarkable addition to the UK motorcycle market. This adventurous mid-weight bike offers impressive features and value,...